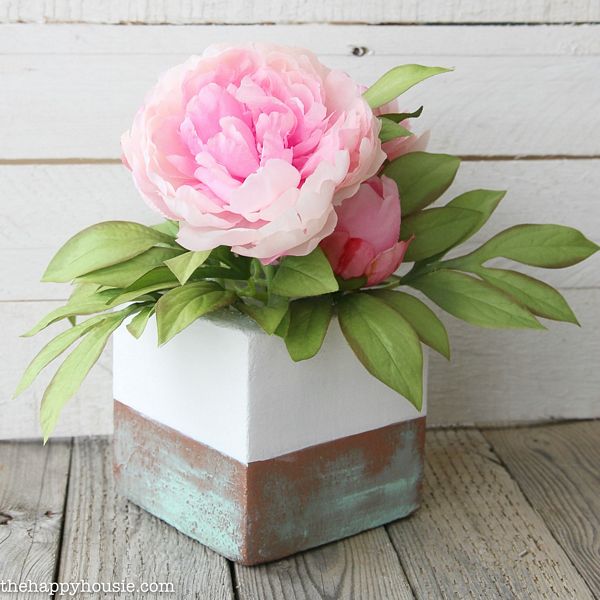
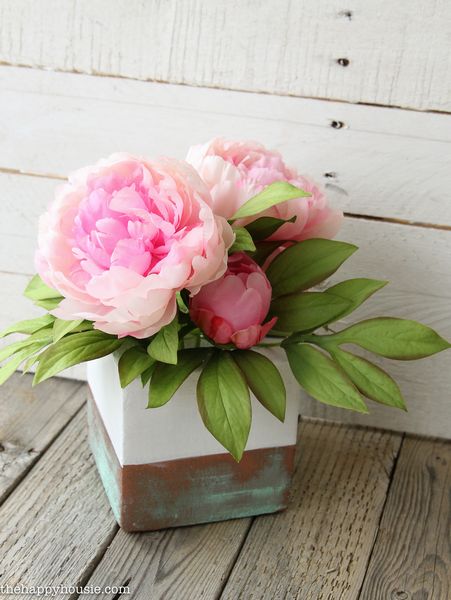
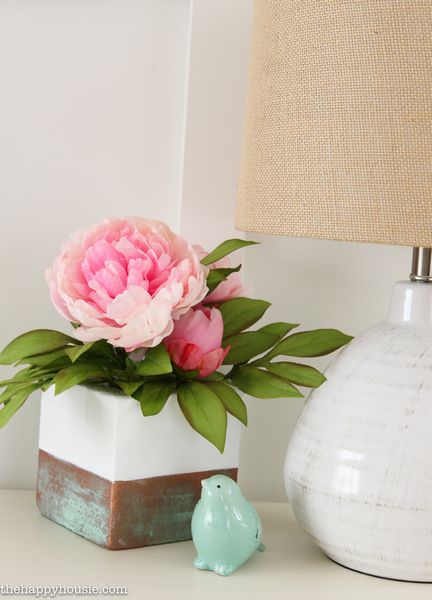
How to DIY Faux Copper Patina Vase Arrangement.
To make this I used…
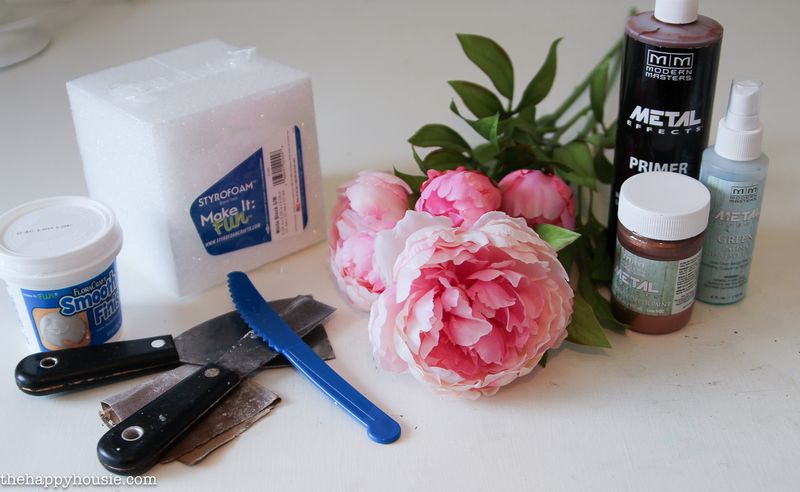
- FloraCraft Make it Fun Foam Block – 4 7/8″ square
- FloraCraft Make it Fun Smooth Finish
- Knife Tool
- Putty Knife
- Sand Paper
- Modern Masters Metal Effects Copper Paint & Green Patina (I didn’t end up using the primer)
- Martha Stewart Craft Paint in Wedding Cake
- Yellow FrogTape for Delicate Surfaces (not pictured here)
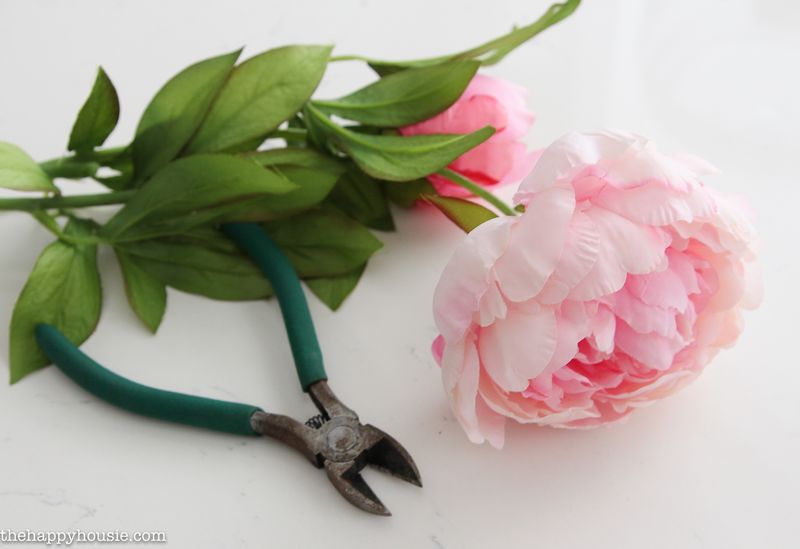
- Faux Flowers – I used two peony stems including the leaves and buds
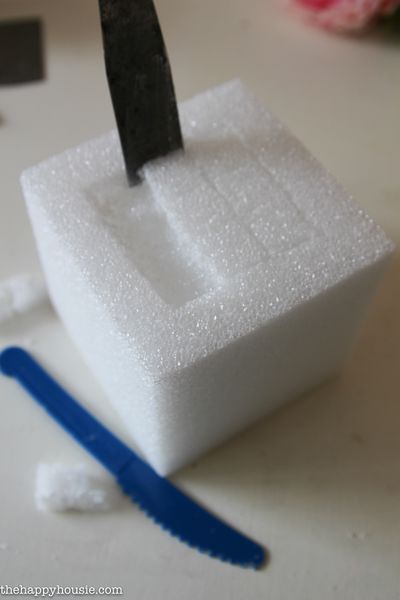
I started by carving a square into the top of my foam block to create a faux vase opening. I scored the top into a square using my Foam Knife and then cut it into a grid. I then popped the little squares out with a spatula tool. I did this two layers deep, or about 1.5-2 inches deep.
Then I covered the foam block with a few coats of Smooth Finish, letting it dry and sanding between coats, until I had a smooth edged finish all over the block.
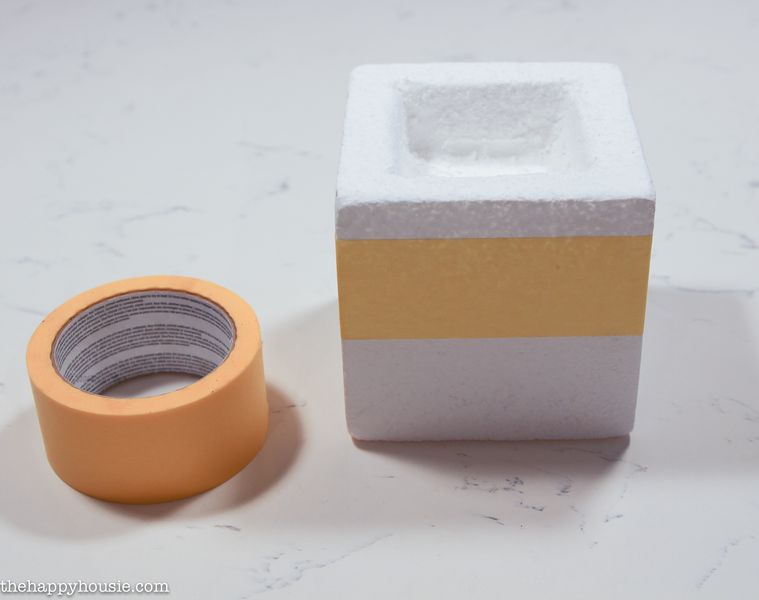
Once that was dry, I added some FrogTape for gentle surfaces to mark off a straight line for the copper paint along the bottom of the vase.
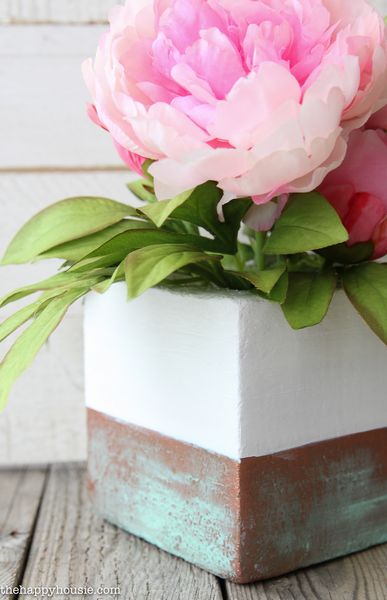
 I did two coats of copper paint and let each dry. I added a third coat and then sprayed with it with Metal Effects Green Patina Aging Solution. As it dries it creates a green patina effect on the copper.
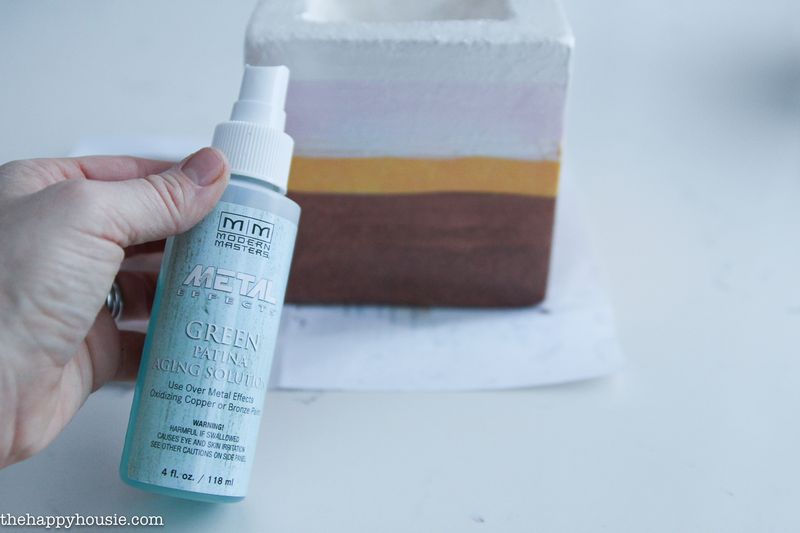
I used my gentle surfaces tape to mark another line along the top of the copper paint and painted the upper half of the foam block vase with Martha Stewart Wedding Cake craft paint.
Done!
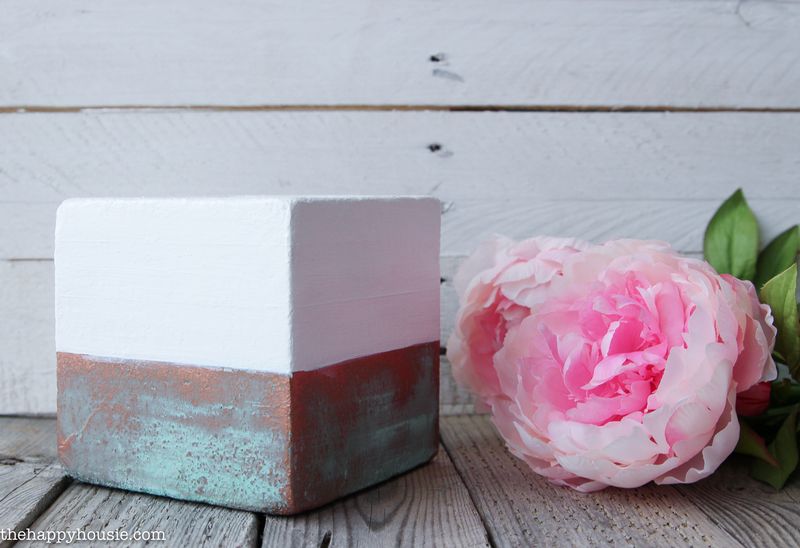
 Because the “vase” is a foam block, I was able to secure the flowers inside the vase mouth by pushing the stems into the foam. You could also use a little bit of hot glue to secure them into place where you want them, but I just played around with the placement and didn’t need to use any glue.